FreeNX
FreeNX is a protocol that allows a user to get a low-bandwidth and responsive remote session on a machine. It is effective enough that one can get smooth scrolling in Firefox over even a dial-up connection. It also allows you to suspend the session and reconnect to it later.
Install
Installation in Ubuntu is pretty easy:
First, we need to add the repository to apt, and then install the server and client.
sudo vim /etc/apt/sources.list
Add the following line:
deb http://kanotix.com/files/debian/ ./
Then the install:
sudo apt-get install freenx nxclient
You’ll then be prompted through a curses based configuration tool to choose a key method, I recommend using the nomachine key for simplicity, however it is a security risk. If you do not want to use this machine, you’ll have to carry the public key around with you to each machine.
After that, you’ll need to tell the nxserver to allow your user to connect.
sudo nxserver --adduser
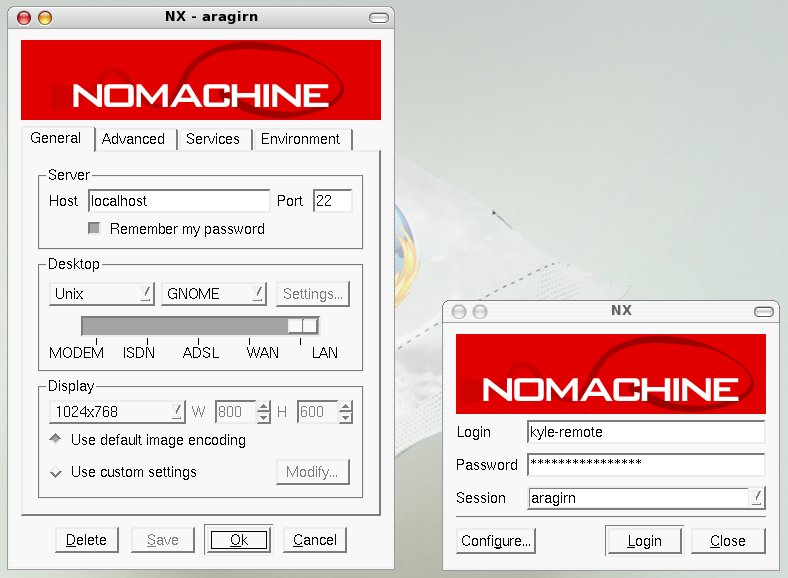
Now, open nxclient on the local machine to make sure everything is all set up.
nxclient
When you start the client for the first time, you’ll be asked a number of questions.
- Name of the session (Call it whatever you want).
- The address of the server.
- The connection type.
- The next window then prompts for the OS, what desktop environment to use and the size your remote desktop should be.
- You’ll then be asked whether you want to create an icon on your desktop (personal choice) and whether or not to show the Advanced Configuration dialog (check this).
- You’ll then be given a dialog to select advanced features. Click the Advanced tab and check the setting for “Enable SSL encryption of all traffic.”
You can then adjust the other settings to your taste.
Once this is done, hit save and try to connect.
Troubleshooting
If your connection fails, and you receive the following error message:
   NX> 203 NXSSH running with pid: 684
   NX> 200 Connected to address: XXX.XXX.XXX.XXX on port: 22
   NX> 202 Authenticating user: nx
   NX> 208 Using auth method: publickey
   NX> 204 Authentication failed.
you have one of two problems:
- You chose not to use the no-machine key and did not copy it to the machine you’re connecting from
- You did use the no-machine key and there’s something else wrong.
I’m going to cover how to fix number 2.
First, we’re going to reconfigure the nxserver to make sure everything is happy:
sudo nxsetup --install --clean --setup-nomachine-key
Try connecting again, if it still fails, we need to reinstall the OpenSSH server (I’m not sure why, but this is what fixed it for me, the config files were identical). Note, this will end up removing the OpenSSH server, and FreeNX (along with anything else that depends on the server - make sure to note what those are to reinstall them, and save the config files if need be).
sudo apt-get remove --purge openssh-server
sudo apt-get install openssh-server freenx nxclient
Then, readd yourself as a user:
sudo nxserver --adduser
Start the client back up and you should be able to connect.
Handy shortcut:
Alt+F4 - Display the dialog box to suspend or terminate the session.
